Proxmox
WARNING
This extension is in beta and may not work as expected. Please report any issues you encounter. This extension only supports QEMU/KVM virtualization at the moment. This extension requires Proxmox 8.4 or higher.
INFO
This extension is a paid resource and requires a license to use. You can purchase a license from BuiltByBit.
Overview
Proxmox is a powerful open-source virtualization management platform that allows you to manage virtual machines and containers. It provides a web-based interface for managing your virtual infrastructure, making it easy to create, configure, and monitor your virtual machines.
With the Paymenter Proxmox extension, you can easily integrate Proxmox with Paymenter to automate the provisioning and management of virtual machines. This allows customers to purchase virtual machines directly from your website, and have them automatically provisioned in Proxmox.
Customers can also manage their virtual machines directly from the Paymenter panel, making it easy to start, stop, and reinstall their virtual machines.
Installation
Purchase and download the extension from BuiltByBit.
Unarchive and upload the extension to your /var/www/paymenter/extensions/Servers/ directory.
Creating a Proxmox API key
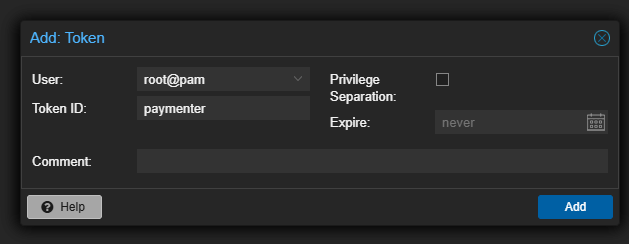
Navigate to your Proxmox web interface and log in. Go to Datacenter > Permissions > API Tokens. Click on Add to create a new API token.
Make sure to disable the Privilege Separation option.
Configure Paymenter
The first step is to configure your Proxmox server in the Paymenter admin panel.
Go to the Servers tab in the admin panel and click on Proxmox.
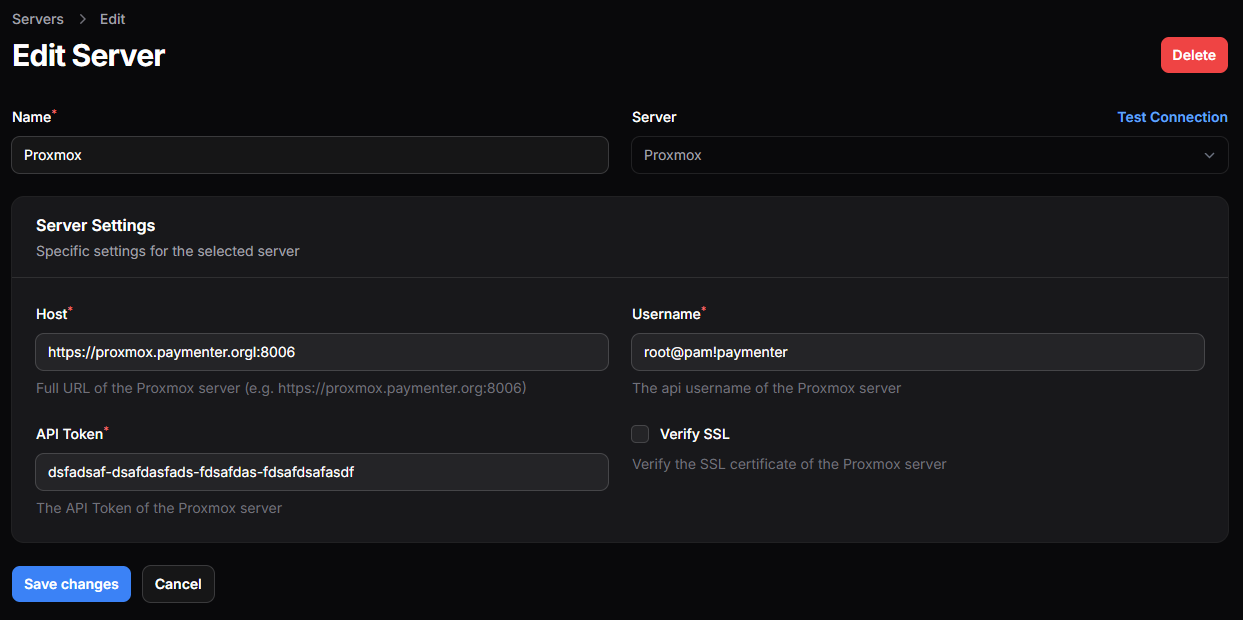
Save it and you are done with the configuration.
Configuring a node
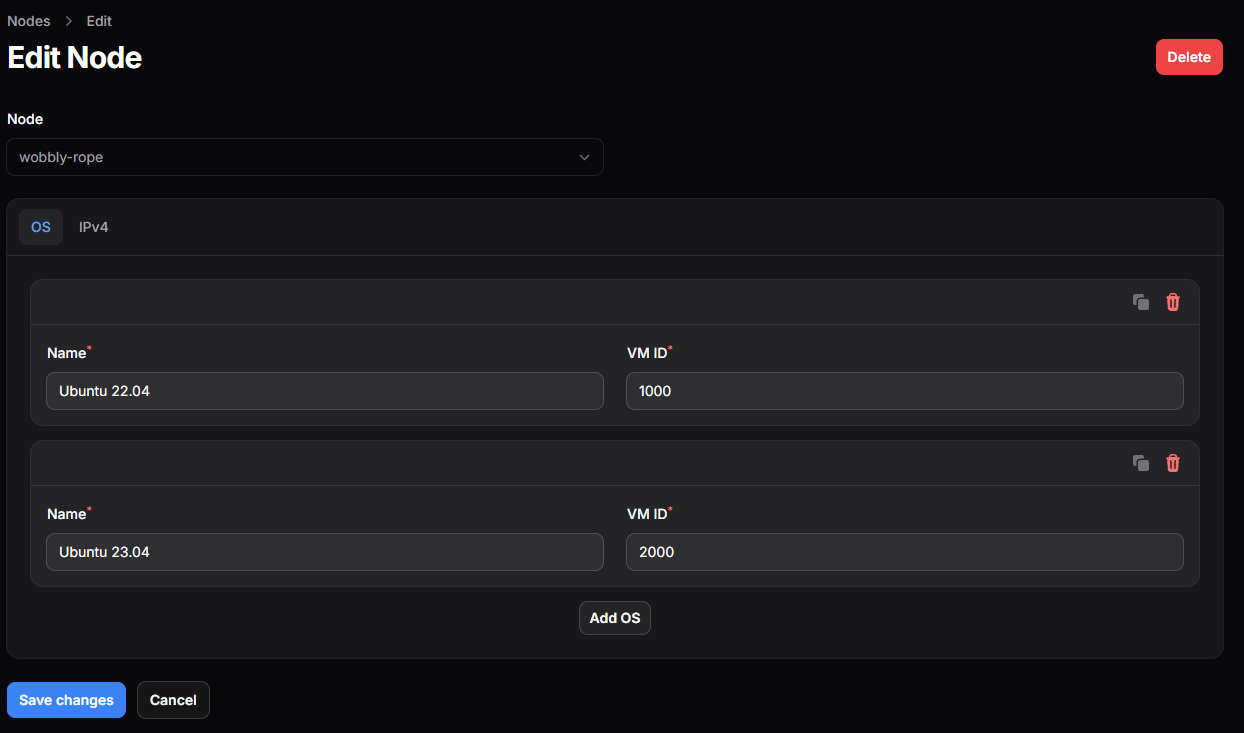
Once you've configured your Proxmox server, you need to configure a node.
Navigate to the Nodes tab in the admin panel and press Add Node.
Fill in the correct node and setup the OS templates.
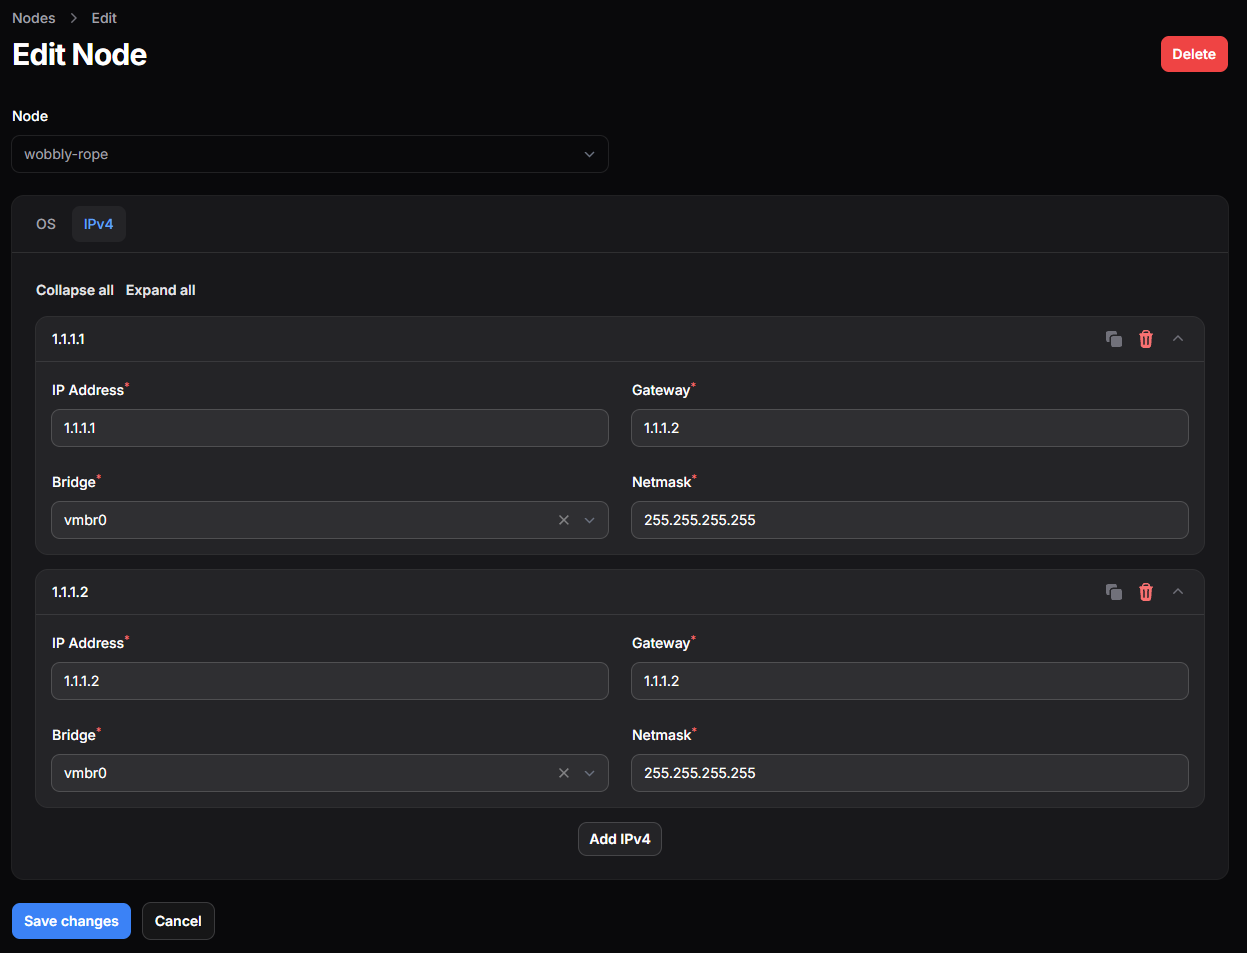
Then configure the IP addresses.
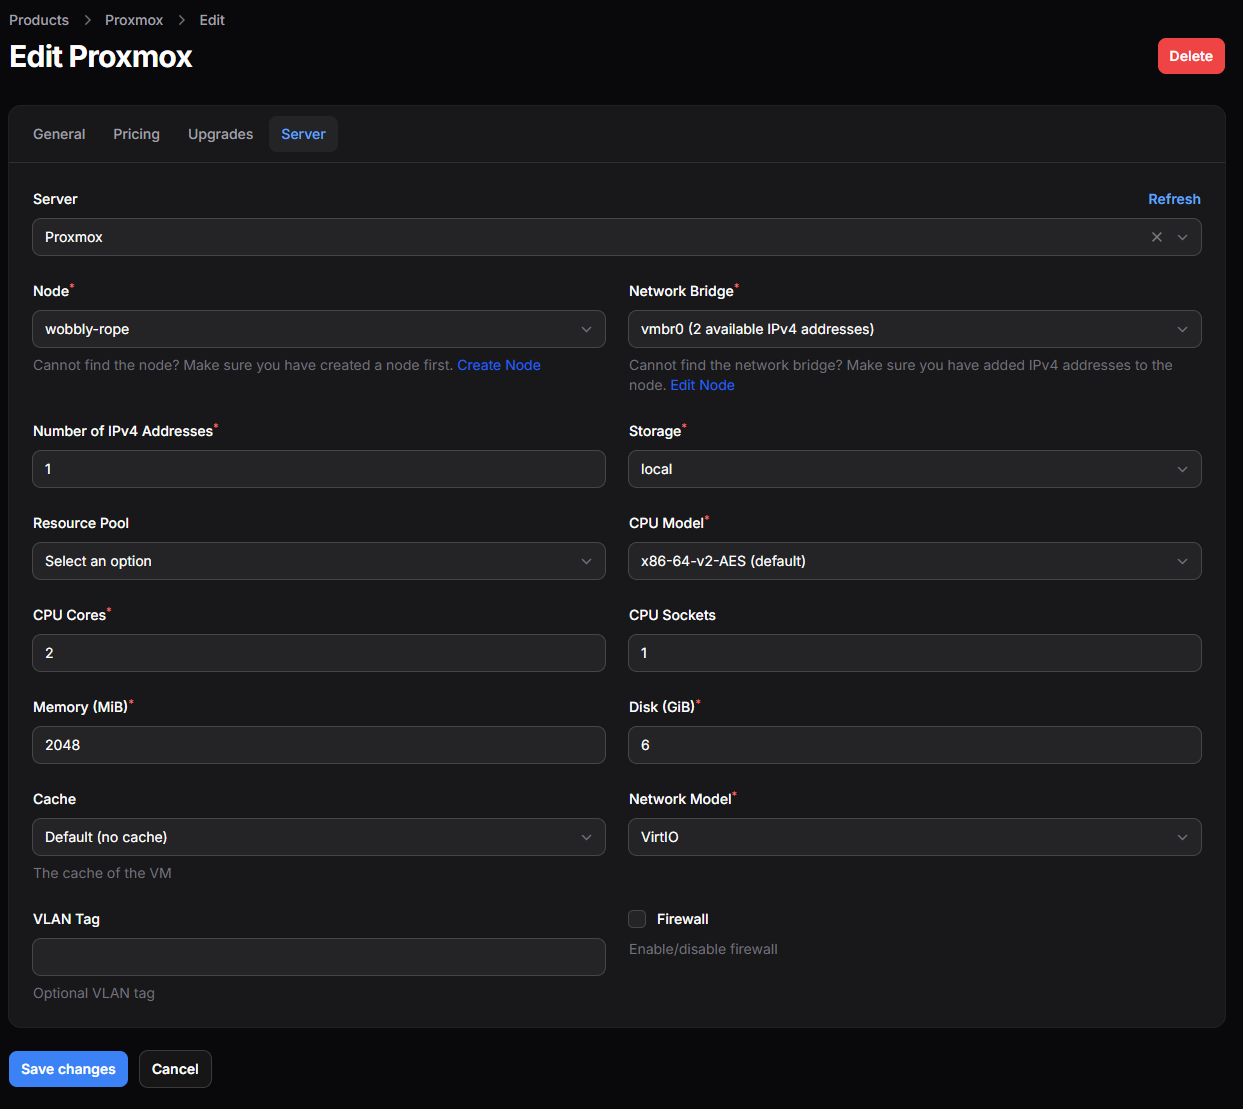
Configuring the product
After you have created a product, you need to go to the settings. Fill in the product details and select the node and bridge you want to assign to the product.
Sending the IP and Password via Email
You can send the IP and Password to the customer via email. Fill in the email template in the product settings.
Here is a example of a email template:
- IP Address: {{ $ip }}
- Root password: {{ $password }}
This is a must have for Proxmox, as the password is not shown in the panel.